
How to Make a Wood Cutting Board — A Beginner's Guide (Start Simpler Than the Internet Tells You)
You do not need a fancy end-grain glue-up to make a good cutting board. Pick a close-grain hardwood (hard maple, cherry, or walnut), keep it a simple edge-grain board in one species, glue it up with a food-safe waterproof wood glue, sand it smooth, and finish it with food-safe mineral oil. Re-oil it when it looks dry. That's a board that lasts years — and the two things that actually decide whether you love it aren't the pattern, they're the wood you pick and how you keep it oiled.
Search "how to make a cutting board" and the whole first page shoves you straight into a checkerboard end-grain build — dozens of little blocks, a planer, a drum sander, and a fine way to ruin fifty dollars of walnut on your first try. That's backwards.
I've worked hardwood every day for over thirty years, and here's the honest truth nobody selling a plan wants to tell you: your first cutting board should be about as plain as a board can get. A simple, single-wood, edge-grain board. Fewer glue joints, fewer ways to go wrong, and it still comes out looking like something you'd be proud to hand somebody. The fancy pattern is the part everybody obsesses over, and it's the part that matters least. What matters is the wood and the oil. Get those two right and you've got a board that outlives your knives.
Start simpler than the internet tells you
An edge-grain board is just a few boards glued side by side, with the long grain up — the face you cut on is the same face you'd see looking down at a plank. An end-grain board is that checkerboard look, made by gluing up a panel, cutting it into strips, turning every strip on end, and gluing it all up again. It's beautiful, it's easier on a knife over the long haul, and it is absolutely not a first project. It doubles your glue joints, it needs a planer to flatten, and one strip a hair too tall throws off the whole top.
So start with edge-grain. Honestly, plenty of the boards in my own kitchen are edge-grain, and they've held up for years. Simple isn't a downgrade here — it's the right call.
Pick the right wood — this is the whole game
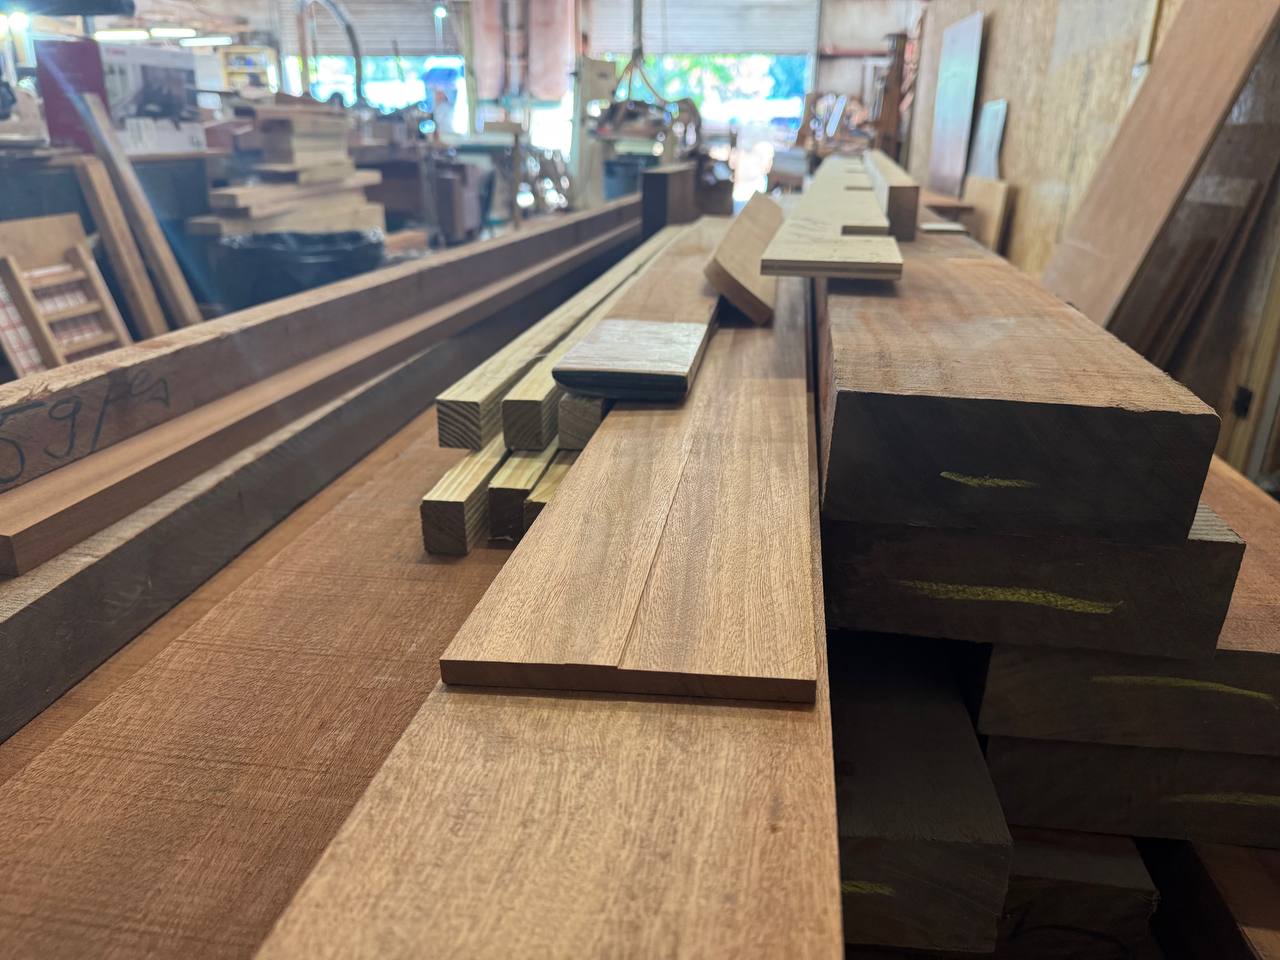
If you take one thing from this, take this: the wood you choose matters more than anything else you'll do. A cutting board lives a hard life — knife edges, water, food, wash after wash. You want a close-grain hardwood: dense, with tight little pores that don't trap food or soak up much water, and hard enough to take a knife without chewing to pieces.
- Hard maple — the classic. Light, tough, tight-grained, cheap enough that a mistake doesn't sting. If you're not sure, buy maple.
- Cherry — a touch softer, gorgeous warm color that only gets better with age. A joy to work.
- Walnut — dark, rich, a little softer than maple but plenty for a board. This is where the price climbs.
And here's what to stay away from, with the why, because the why is what keeps you out of trouble:
- Softwoods like pine. Too soft — it dents under a knife, and it drinks up water and food like a sponge. Wrong tool for the job.
- Open-grain woods like red oak. Look close at the end of an oak board and you'll see pores you could damn near stick a straw in. Those open pores hold water and food right where you don't want them. Beautiful for furniture, wrong for a cutting surface.
- Cheap "exotic" bargain woods you can't identify. Some carry natural oils or dust that a few people react to. If you don't know exactly what it is, it doesn't belong under your food.
Reading a board at the rack is a skill all its own — the same eye that keeps a board flat keeps a cutting board from cupping. If you've never done it, I wrote the whole thing up here: how to pick good lumber at the store.
Keep it flat and keep it food-safe
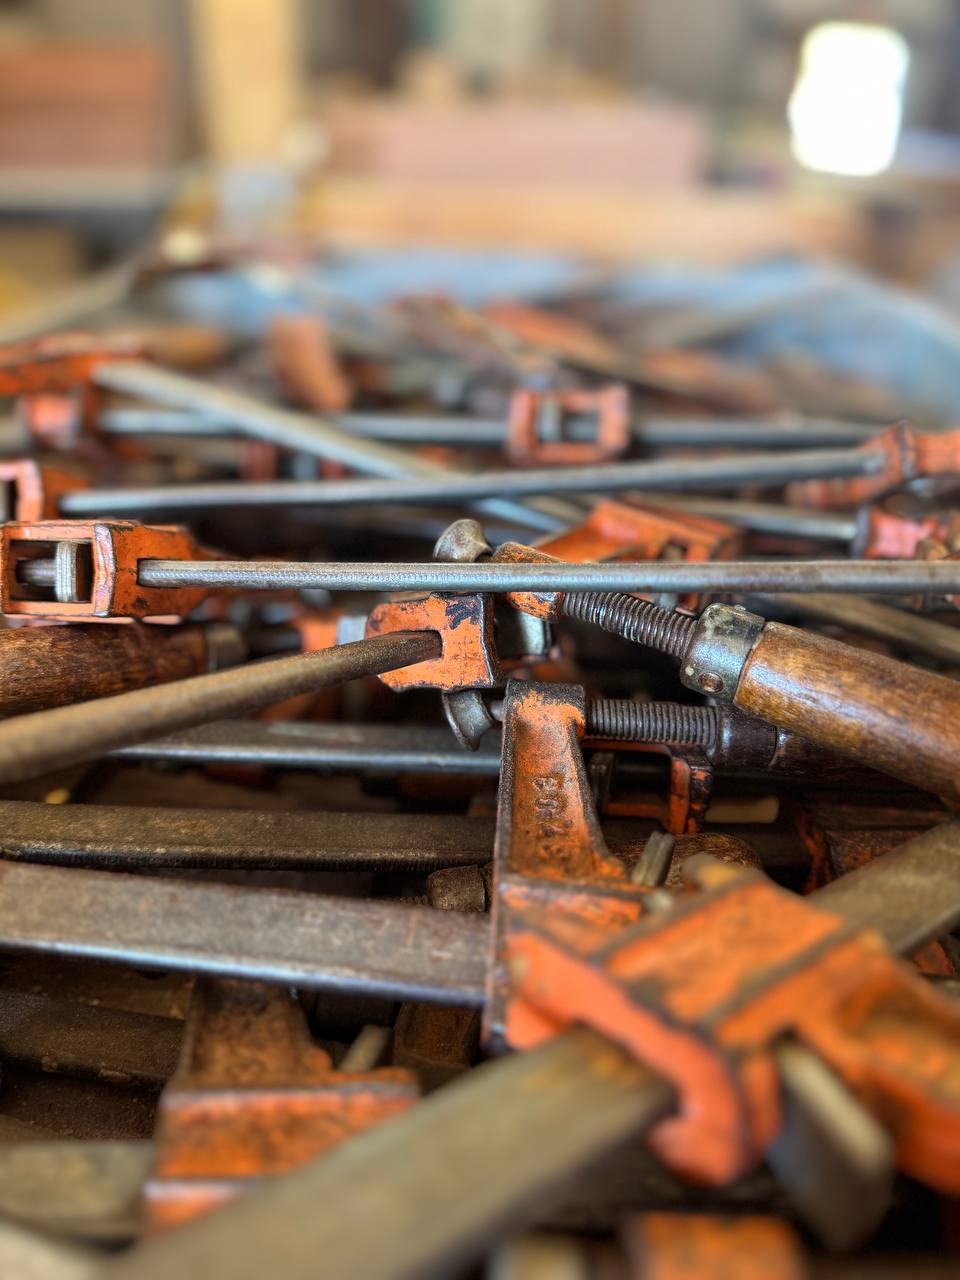
You don't need much to glue up a simple board — a few clamps and a flat surface will do it. The goal is a top that stays flat and joints that hold up to washing.
- Go thick enough that it won't cup. An inch to an inch and a quarter is a good target for a working board. Thin boards want to warp; a little heft keeps it flat and feels right under your hand.
- Alternate the grain. Look at the end of each board and flip every other one so the growth rings arch opposite ways. It's an old trick that fights cupping across the whole panel.
- Use a waterproof, food-safe wood glue. A Titebond III-type PVA is the common one — it's rated waterproof and safe for surfaces that touch food once it's cured. Spread it on every mating edge, clamp it up snug but not gorilla-tight, and wipe the squeeze-out before it skins over.
- Sand up through the grits. Start coarse to level the joints, then work up — 120, 150, 220 — until it's smooth to the flat of your hand. Knock the sharp edges off so it feels good to hold.
That's it for the build. Notice there's nothing in there about how we make a door — this is plain, generic woodworking anybody can do at a kitchen table with clamps. Which is the point.
The finish is where most people go wrong
Here's the part that trips up more beginners than any glue joint ever will. A cutting board takes food-safe mineral oil — plain, food-grade mineral oil, sold as butcher block oil or even as a cheap bottle at the drugstore. It's inert, it's tasteless, and the whole reason it works is that it never goes rancid.
Give a brand-new board two or three good coats. Flood it on, let the wood drink it in for a bit, wipe off whatever's left sitting on the surface, and let it rest. If you want a little extra, a board butter — mineral oil melted together with beeswax — leaves a nicer feel and sheds water a hair better. Both are worth having.
And the mistake I have to talk people out of: do not use olive oil, vegetable oil, or any cooking oil. They come from plants, and plant oils spoil. Rub olive oil into a board and in a few weeks it'll smell sour and off, because it's slowly going rancid inside the wood. Mineral oil is a mineral, not a food — it can't spoil. That's the entire difference, and almost nobody explains it plainly.
Keep it alive
A wood board isn't set-and-forget, but the upkeep is about the easiest thing in your kitchen. Do these and one board will outlast a drawer full of plastic ones:
- Re-oil it when it looks dry. When the color goes pale and thirsty-looking, wipe on another coat of mineral oil. Thirty seconds, maybe once a month at first, less as it settles in.
- Hand-wash only — never the dishwasher. The dishwasher is a wood board's death: hours of hot water and heat that swell it, then bake it, and split it right down a glue joint. Wash it by hand with soap and water and move on.
- Dry it standing up. Don't leave it flat in a puddle on the counter. Stand it on edge so both faces dry even, and it won't cup.
That's the whole habit. It's the same idea behind everything we build here — wood that's cared for a little keeps giving back for decades. A board is just the smallest, friendliest version of that lesson.
Common questions
What's the best wood for a cutting board?
A close-grain hardwood — hard maple, cherry, or walnut. Dense with tight pores, so they're easy on knife edges and don't trap much food or moisture. Hard maple is the classic first pick: light, tough, and cheap enough that a mistake doesn't hurt. Steer clear of softwoods like pine (too soft, soaks up water), open-grain woods like red oak (big pores hold moisture and food), and cheap exotics you can't identify.
Is mineral oil really food-safe?
Yes. Plain food-grade mineral oil — sold as butcher block oil, or even as a cheap bottle at the drugstore — is inert, tasteless, and doesn't go rancid. It soaks in, keeps the wood from drying and cracking, and it's completely safe around food. Just check the label says food-grade, and give a new board two or three coats to start.
Why can't I use olive oil or vegetable oil?
Because cooking oils go rancid. Olive oil, vegetable oil, any pantry oil — they're made from plants and slowly spoil inside the wood, leaving the board smelling sour. Mineral oil is a mineral, not a food, so it never spoils. Use food-grade mineral oil, or a board butter of mineral oil and beeswax — never the stuff from your kitchen.
Edge-grain or end-grain for a first board?
Edge-grain, no question. An end-grain board — the fancy checkerboard — needs dozens of small blocks, a planer, and a pile of glue joints that all have to line up, and it's easy to wreck good wood on your first try. An edge-grain board in one species is far fewer joints and far fewer ways to go wrong, and it still looks and works great. Start there; build the fancy one later.
Once you fall for real wood, this is where it leads
Making one small board is how a lot of folks catch the bug for solid hardwood. When you want something bigger built by hand and made to last — a door, a gate, a farm table — that's what we do here in Ravenel. Tell us what you're picturing.
Request a Custom Piece More from the bench →