
How to Build a Simple DIY Floating Shelf — A Beginner Weekend Project
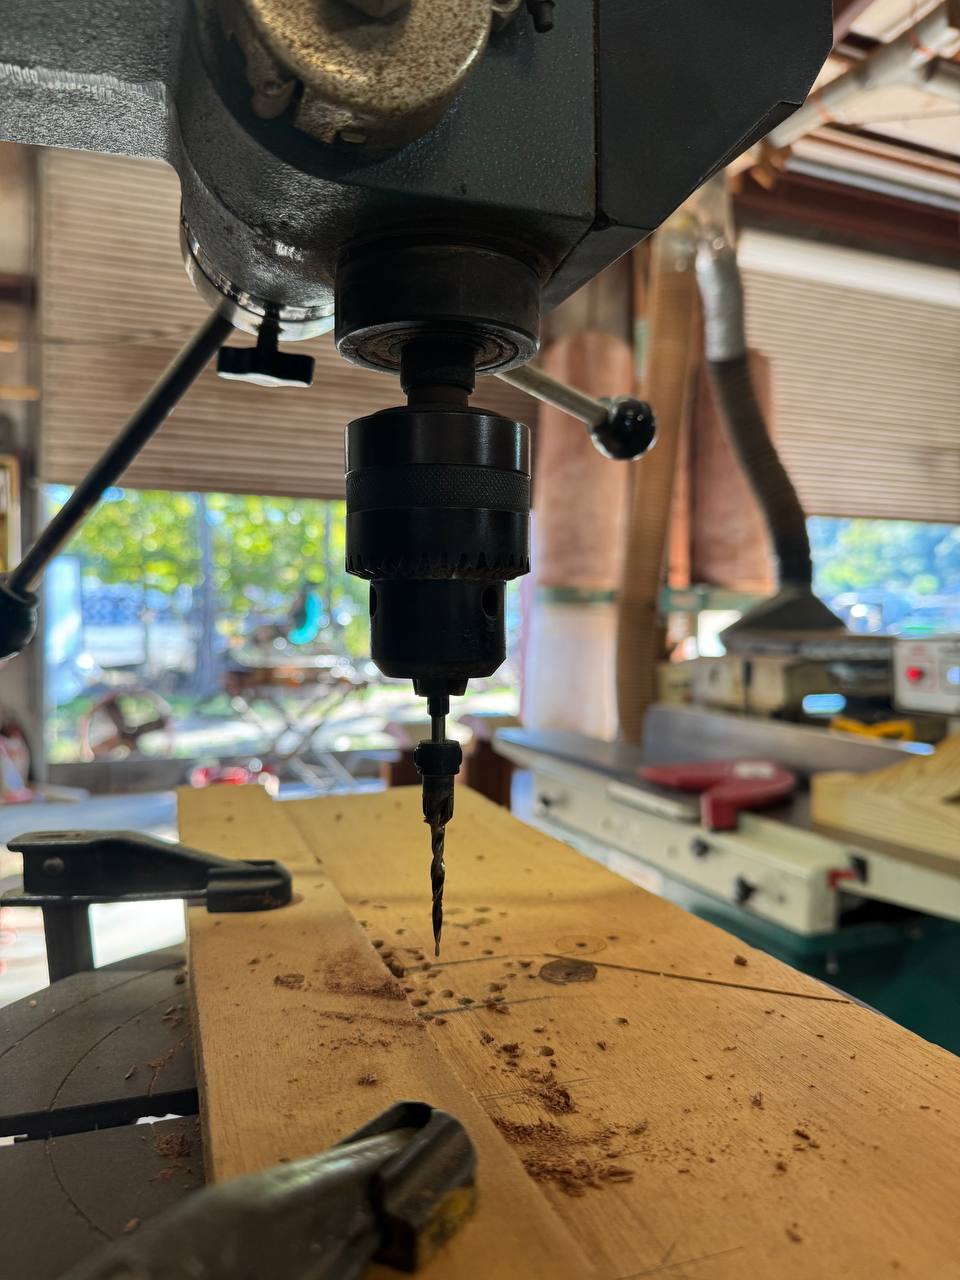
A floating shelf is just a hollow wood box that slides over a cleat screwed into your wall studs — no visible brackets. A beginner can build and hang one in an afternoon with a drill, a saw, wood glue, and a level. The whole trick is anchoring the cleat into studs, not drywall, so it holds real weight and stays put. Build the box, that's the easy part. Hit the studs, that's the part that actually matters.
Every floating-shelf post online rushes you straight to the glue-up and the stain color, and skips the one thing that decides whether the shelf is still on the wall next year. It has to hang off the studs. Get that wrong and it doesn't matter how pretty the box is.
I've hung a lot of things on a lot of walls over thirty years, and a floating shelf is honestly one of the best first projects there is. It's cheap, it's fast, it uses tools most folks already own, and the payoff hangs right there on the wall where everybody who walks in sees it. But I want to tell you about it the way I'd explain it to somebody standing in the shop — not the Pinterest version, the real one. Because the part everybody worries about is the easy part, and the part nobody mentions is the part that counts.
What a floating shelf actually is
Strip away the mystery and it's two pieces. There's a cleat — a plain strip of wood you screw to the wall, into the studs — and there's a hollow box that slides over the top of that cleat and hides it completely. From the front you see a thick slab of wood sticking out of the wall with nothing holding it up. That's the magic trick, and it's all it is. The cleat does every bit of the work; the box is just the pretty cover that makes it look like it's floating.
Understanding that split is the whole job. If the cleat is anchored right and dead level, the shelf is solid. The box could be built a dozen different ways and still work. So we're going to spend our worry where it belongs — on the cleat and the wall — and keep the box dead simple.
What you'll need
Nothing exotic. If you've got a drill and a way to cut a board, you're most of the way there.
- A length of 2x3 or 2x4 for the hidden cleat — solid, straight stock.
- Boards or ½″ plywood for the box — the top, bottom, front, and two ends. Pine or poplar is cheap and paints up fine; a hardwood like oak or maple looks great stained.
- Wood glue and a handful of brad nails or finish nails to hold the box together.
- Long wood screws — the kind that'll reach through the drywall and bite a good inch-plus into the stud.
- A drill, a saw, a stud finder, a tape measure, and a level. The stud finder and the level are not optional. Those two are the job.
Buy straight, dry lumber. I mean it. Sight down every board before it goes in the cart and put back anything bowed or twisted. If you've never done that at the rack, here's how I pick boards: how to pick good lumber at the store. A warped board makes a warped shelf, and you can't sand your way out of that later.
Step 1 — Find the studs and plan the length
This is the step everyone skips, and it's the one that keeps your shelf on the wall. Run the stud finder across the wall and mark every stud you hit. In most homes they're 16 inches apart, center to center. You want your shelf long enough to catch at least two studs — so plan the length around the studs you found, not the other way around.
Mark the stud centers lightly in pencil where the cleat will sit. Measure twice. The studs decide where the shelf can go and how long it ought to be, so settle that before you cut a single thing.
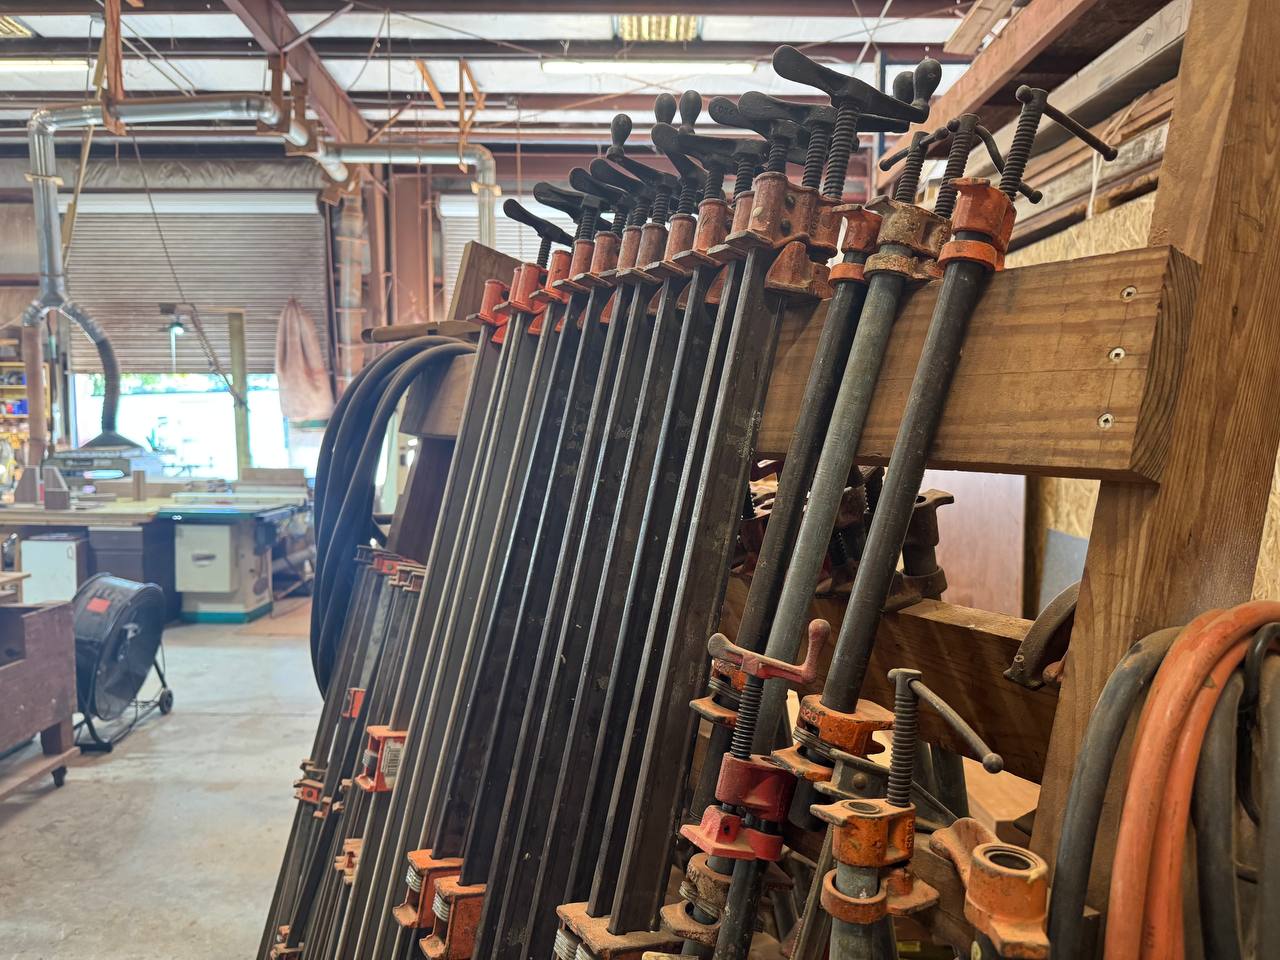
Step 2 — Build the simple box
Now the easy part. Cut your top and bottom the same length, a front piece, and two end caps. Glue and nail them into a hollow box that's open at the back — that open back is what slides over the cleat. Keep the inside opening a hair bigger than your cleat so it slides on without a fight.
- Dry-fit it first. Put the whole box together with no glue and make sure it's square and the pieces meet clean. Fix it now, not after the glue grabs.
- Glue, then clamp, then pin. Wood glue does the real holding; the nails just keep things still while it cures. Wipe the squeeze-out before it skins over.
- Sand it smooth once it's dry, knock the sharp edges off, and finish it however you like — paint, stain, or just oil.
Notice there's nothing in there that's any secret. It's a plain glued-up box anybody can make on a kitchen table. That's the point of a project like this — it's generic woodworking, not a trade.
Step 3 — Mount the cleat and hang it
Here's where the shelf is won or lost. Hold the cleat up to your pencil marks, put the level on it, and when it's dead level, drive your long screws through the cleat and the drywall and into the studs — at least two of them. Snug and solid. Give the cleat a good tug when you're done; it shouldn't budge.
Then slide the box over the cleat. It should sit snug. To keep it from ever lifting off, run a couple of small screws or brad nails up through the bottom of the box into the cleat from underneath, where nobody sees them. Check level one more time. Then step back — it looks like it's floating, because the only thing holding it is buried in your wall.
Phil's honest truth — what it'll hold, and what'll sink you
Let me be straight with you about weight, because this is where good intentions go wrong. Anchored into studs, a floating shelf holds real weight — a row of books, a stack of plates, framed pictures. Anchored into drywall alone, it holds almost nothing, and worse, it fails slow and ugly: the plastic anchors creep, the shelf tips, and one day it tears a hole in your wall on its way to the floor. Drywall is half an inch of soft gypsum. It was never meant to carry a load that levers out away from the wall like a shelf does. Hit the studs or don't bother.
Two more that'll bite a beginner. Warped lumber — a bowed board makes a shelf that never sits right, and no clamp fixes it after the fact, so cull it at the store. And skipping the level — a shelf that's off even a little reads crooked to the eye the second anything round rolls to one end. Thirty seconds with a level saves you taking the whole thing down. If your shelf's going somewhere damp like a bathroom or a porch, seal the wood first so it doesn't swell; here's how I'd do it: how to seal an outdoor wood project.
Common questions
How much weight can a floating shelf hold?
It depends entirely on what it's anchored to. A shelf screwed through a solid cleat into two or more studs carries real weight — books, dishes, heavy frames. The same shelf on drywall anchors alone holds next to nothing and eventually tears out of the wall. The box you build matters far less than what it's bolted to. Hit the studs and you've got a working shelf. Miss them and you've got a picture-frame holder at best.
What wood should I use for a floating shelf?
Straight, dry, flat stock matters more than the species. For the hidden cleat, a 2x3 or 2x4 is plenty strong. For the box, ¾″ boards or ½″ plywood both work — pine or poplar is cheap and fine if you're painting, a hardwood like oak or maple looks great stained. The one rule: sight down every board and reject anything bowed or twisted. A warped board makes a warped shelf, and nothing fixes that later.
Do I have to screw a floating shelf into studs?
For anything you'll put weight on, yes. Drywall is only about half an inch of soft gypsum — plastic anchors grab that thin layer and pull straight out under load, especially on a shelf where the weight levers down and away from the wall. Studs are the solid framing behind it, usually 16 inches apart. Screw the cleat into at least two with long screws and it's anchored to the actual house. That's the difference between a shelf that lasts years and one that's on the floor by next month.
How long does it take a beginner to build a floating shelf?
An afternoon. The build — cutting and gluing the box — is an hour or two plus glue-dry time. Finding the studs, mounting the cleat level, and hanging the box is another hour if you take your time. It's one of the most satisfying first projects there is, and all you need is a drill, a saw, glue, a stud finder, and a level.
Once you fall for building with real wood
Hanging your first shelf is how a lot of folks catch the bug. When you want something bigger built by hand and made to last — a door, a gate, custom work — that's what we do here in Ravenel. Tell us what you're picturing.
Request a Custom Piece More from the bench →