
How to Care for a Wood Front Door Before Winter — A Craftsman's Fall Checklist
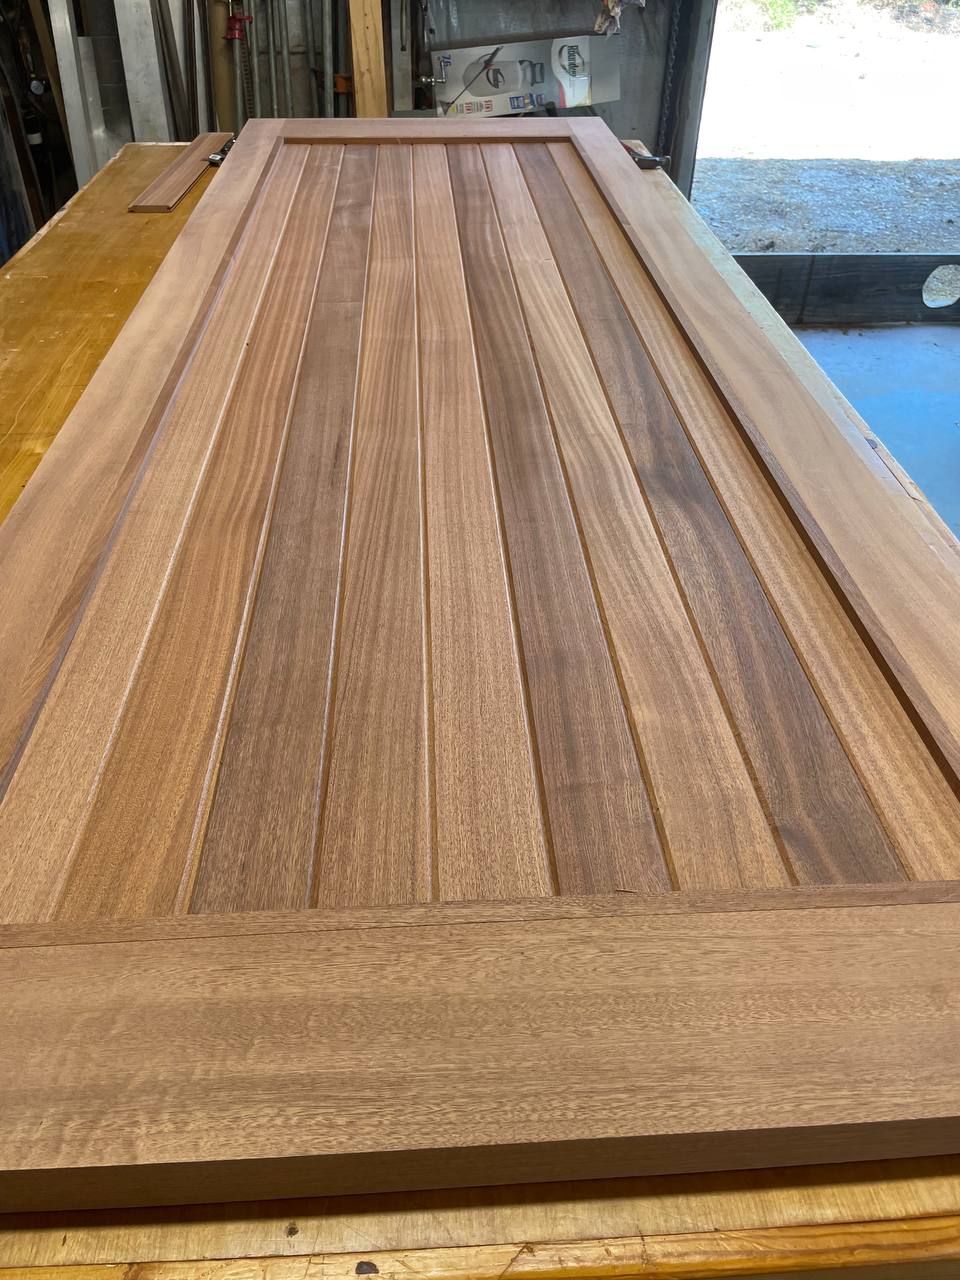
Once a year, ideally in fall, clean your wood front door with mild soap and a soft cloth, dry it off, then look over every edge — especially the bottom rail and the sun-facing side — for cracks, fading, or bare spots. Fill any hairline checks, refresh the oil or topcoat where it's worn, and make sure the bottom edge is sealed. Done each fall, that twenty minutes is most of what keeps a good wood door looking new for decades.
A real wood door doesn't ask for much. But the little it does ask, it asks every fall — before the wet season, not during it.
Folks are always surprised when I tell them how little upkeep a good door actually needs. They picture sanding and staining and a whole weekend lost. It's nothing like that. If the door was built right and sealed right to begin with, keeping it nice is a once-a-year walk-around with a rag and maybe a can of oil. Let me walk you through exactly what I'd check, the way I'd tell you if you were standing in the shop.
Why fall is the right time
Timing matters more than people think. You want to clean, inspect, and reseal before winter damp settles in — not after the wood has already spent a season pulling in moisture. Get the finish fresh and every edge sealed going into the wet months and the door rides it out easy.
Down here in the Lowcountry that's doubly true. By fall you're getting ahead of the winter wet and clearing out the last of the summer's salt-air humidity before it has a chance to work into an unsealed bottom rail. Mild, dry fall days are also just better weather for a finish to cure than a cold snap or a muggy afternoon. Put it on the calendar with the rest of your fall chores and you'll never have to think about it again.
Step 1 — Clean it gently
Start simple. Knock off the dust, pollen, and spiderwebs first, then wash the door down with mild soap and a soft cloth. Warm water, a little dish soap, that's it.
- Dry it off right away with a clean towel — don't let water sit on the wood and soak in
- No bleach, no harsh cleaners, and no abrasive pads — a scrubby sponge cuts right through the finish you're trying to protect
- Get into the corners of the panels and around the hardware, where grime collects
Half the time, a good clean is all a door needs, and now you can actually see what you're inspecting.
Step 2 — Inspect where doors actually fail
This is the part most people skip, and it's the part that matters. A door doesn't give out all over at once — it fails in a few predictable spots. Know where to look and you'll catch trouble while it's still a five-minute fix:
- The bottom rail. Water sits there, runs down there, splashes up onto it. It's the first place to go. Run your hand along it and look hard for dullness, bare wood, or any softness.
- The sun-facing edge and face. UV breaks a finish down faster than anything. A south- or west-facing door will fade and go chalky on that side years before the rest.
- Around the glass and the hardware. Any cutout or edge where the finish was interrupted is a place water can sneak in.
- The panels. Look for a dull, chalky, or gray cast, for peeling, and for fine hairline cracks — what we call checks.
You're looking for the finish failing before the wood does. The whole game is keeping moisture off bare wood, so anywhere the finish has thinned or opened up, make a mental note.

Step 3 — Spot-fix the small stuff
Now handle what you found. The key word is spot — you're touching up the few places that need it, not stripping the whole door:
- Fill any hairline checks with an exterior-grade wood filler, let it set, and knock it smooth
- Lightly scuff a dull or worn patch so a fresh coat will grab, then re-coat just that area
- Hit any bare or sun-worn spots before they spread — a quarter-sized bare patch in fall is a soft rail by spring if you leave it
These are owner-level touch-ups. Fifteen minutes with a putty knife and a brush, not a project.
Step 4 — Refresh the finish and reseal the bottom
Last step, and it's an easy one. Give the door a light refresh of whatever finish it already wears — if it's an oil-finished door, re-oil it; if it's got a topcoat, re-coat it — and follow the directions on the product, since different finishes want different handling. A thin, even coat is all you're after.
- Pay special attention to the bottom edge — it's the most-missed surface on the whole door and the first to rot. Get it sealed.
- Don't forget the sun-facing side, which wears fastest and usually needs it first
- How often: a quick clean-and-inspect every fall, and a full refresh of the finish roughly every two to three years — sooner on a door that bakes in afternoon sun
That's the whole job. Clean, look, touch up, refresh. A well-built door asks for that once a year and gives you decades in return.
When it's a replacement, not a repair
I'll always tell you straight: sometimes upkeep stops paying. If the bottom rail is soft and spongy, if a panel is splitting, if you can push a screwdriver into rotted wood — that's not a touch-up anymore, and filler only hides it for a season. Same story with a hollow-core or thin-veneer box-store door: those aren't built to be maintained, and no amount of care keeps them from failing. You end up chasing the same problems every couple of years.
Here's the honest part. A solid wood door built right and sealed on all six sides only ever needs the light care above. The doors people are forever rescuing are the cheap ones that were never going to last. If you're tired of that cycle, the fix isn't more maintenance — it's a door worth maintaining. That's a big reason we build the way we do, and why Sapele holds up the way it does. There's more on that in why we build in Sapele, on keeping a door from warping, and on how wood doors handle Charleston salt air.
Common questions
How often should I refinish or re-oil a wood front door?
Clean and inspect it every fall, and plan on a full refresh of the oil or topcoat every two to three years. A door that takes hard south or west sun needs the full refresh more often. The real test is the finish: when water stops beading and the surface looks dull, it's time — whether that's at two years or four.
What's the best time of year to reseal an exterior wood door?
Fall, before the wet, cold season. You want the finish fresh and every edge sealed going into winter damp, not scrambling after the door has already taken on moisture. In the Lowcountry that also means getting ahead of the last salt-air humidity before it reaches an unsealed bottom rail.
Can I fix small cracks in my front door myself, or do I need a pro?
Small hairline checks are a do-it-yourself job — clean them out, fill with exterior wood filler, and touch up the finish. What you don't patch over is a soft bottom rail, a splitting panel, or real rot. That's past upkeep, and at that point it's a new door, not a repair.
How do I keep salt air and humidity from ruining a wood door in the Lowcountry?
Keep every edge sealed — especially the bottom, the first to rot — keep the finish intact, and do a quick clean-and-inspect each fall. And it starts with the door: a stable, properly built hardwood door sealed on all six sides only needs this light care, while a cheap door keeps failing no matter what.
Tired of rescuing a door that was never built to last?
If yours is past saving — or you're done replacing a cheap one every few years — that's what we build. Handcrafted Sapele doors, made by hand in Ravenel to only ever need the light care above.
Request a Custom Piece More from the bench →